
Like most bakers (and bakerettes ^_^) out there, I’m a total Pinterest fan. I saw a picture tutorial on some mini chocolate cakes on Pinterest and I decided to try my hand at it. I’m pleased to say the results were amazing and came out as planned. I have therefore decided to share how I did it with you so you can try it out as well and be pleased with yourself as I was when I finished and admired my handiwork ^_^.
For the cake, i baked a chocolate cake on a larger pan, so it comes out shallow flat and wide. You can also use a recipe and pour the batter into a sheet pan. Click on this link to get a chocolate recipe you can use. For the Buttercream Frosting; mine was a bit on the lighter side, for an overall dark chocolate look, you can make it darker by adding more of the cocoa powder. Here’s a link on a recipe for Chocolate buttercream frosting. Once you have your cooled chocolate cake and have your buttercream frosting. You will need to make sure you have heart-shaped cookie cutters (If you like, you can also get another shape that you prefer). Assembly:
- Cut your cake using your cookie cutters into as many pieces as possible, try to minimize waste (the rest of the cake, you are allowed to eat by yourself as you work ^_^)
- Place your cake pieces on a board ready for assembly. Fill an icing bag with your chocolate buttercream frosting, you will use this as the filling. I used a small start tip to pipe the frosting (no. 18).
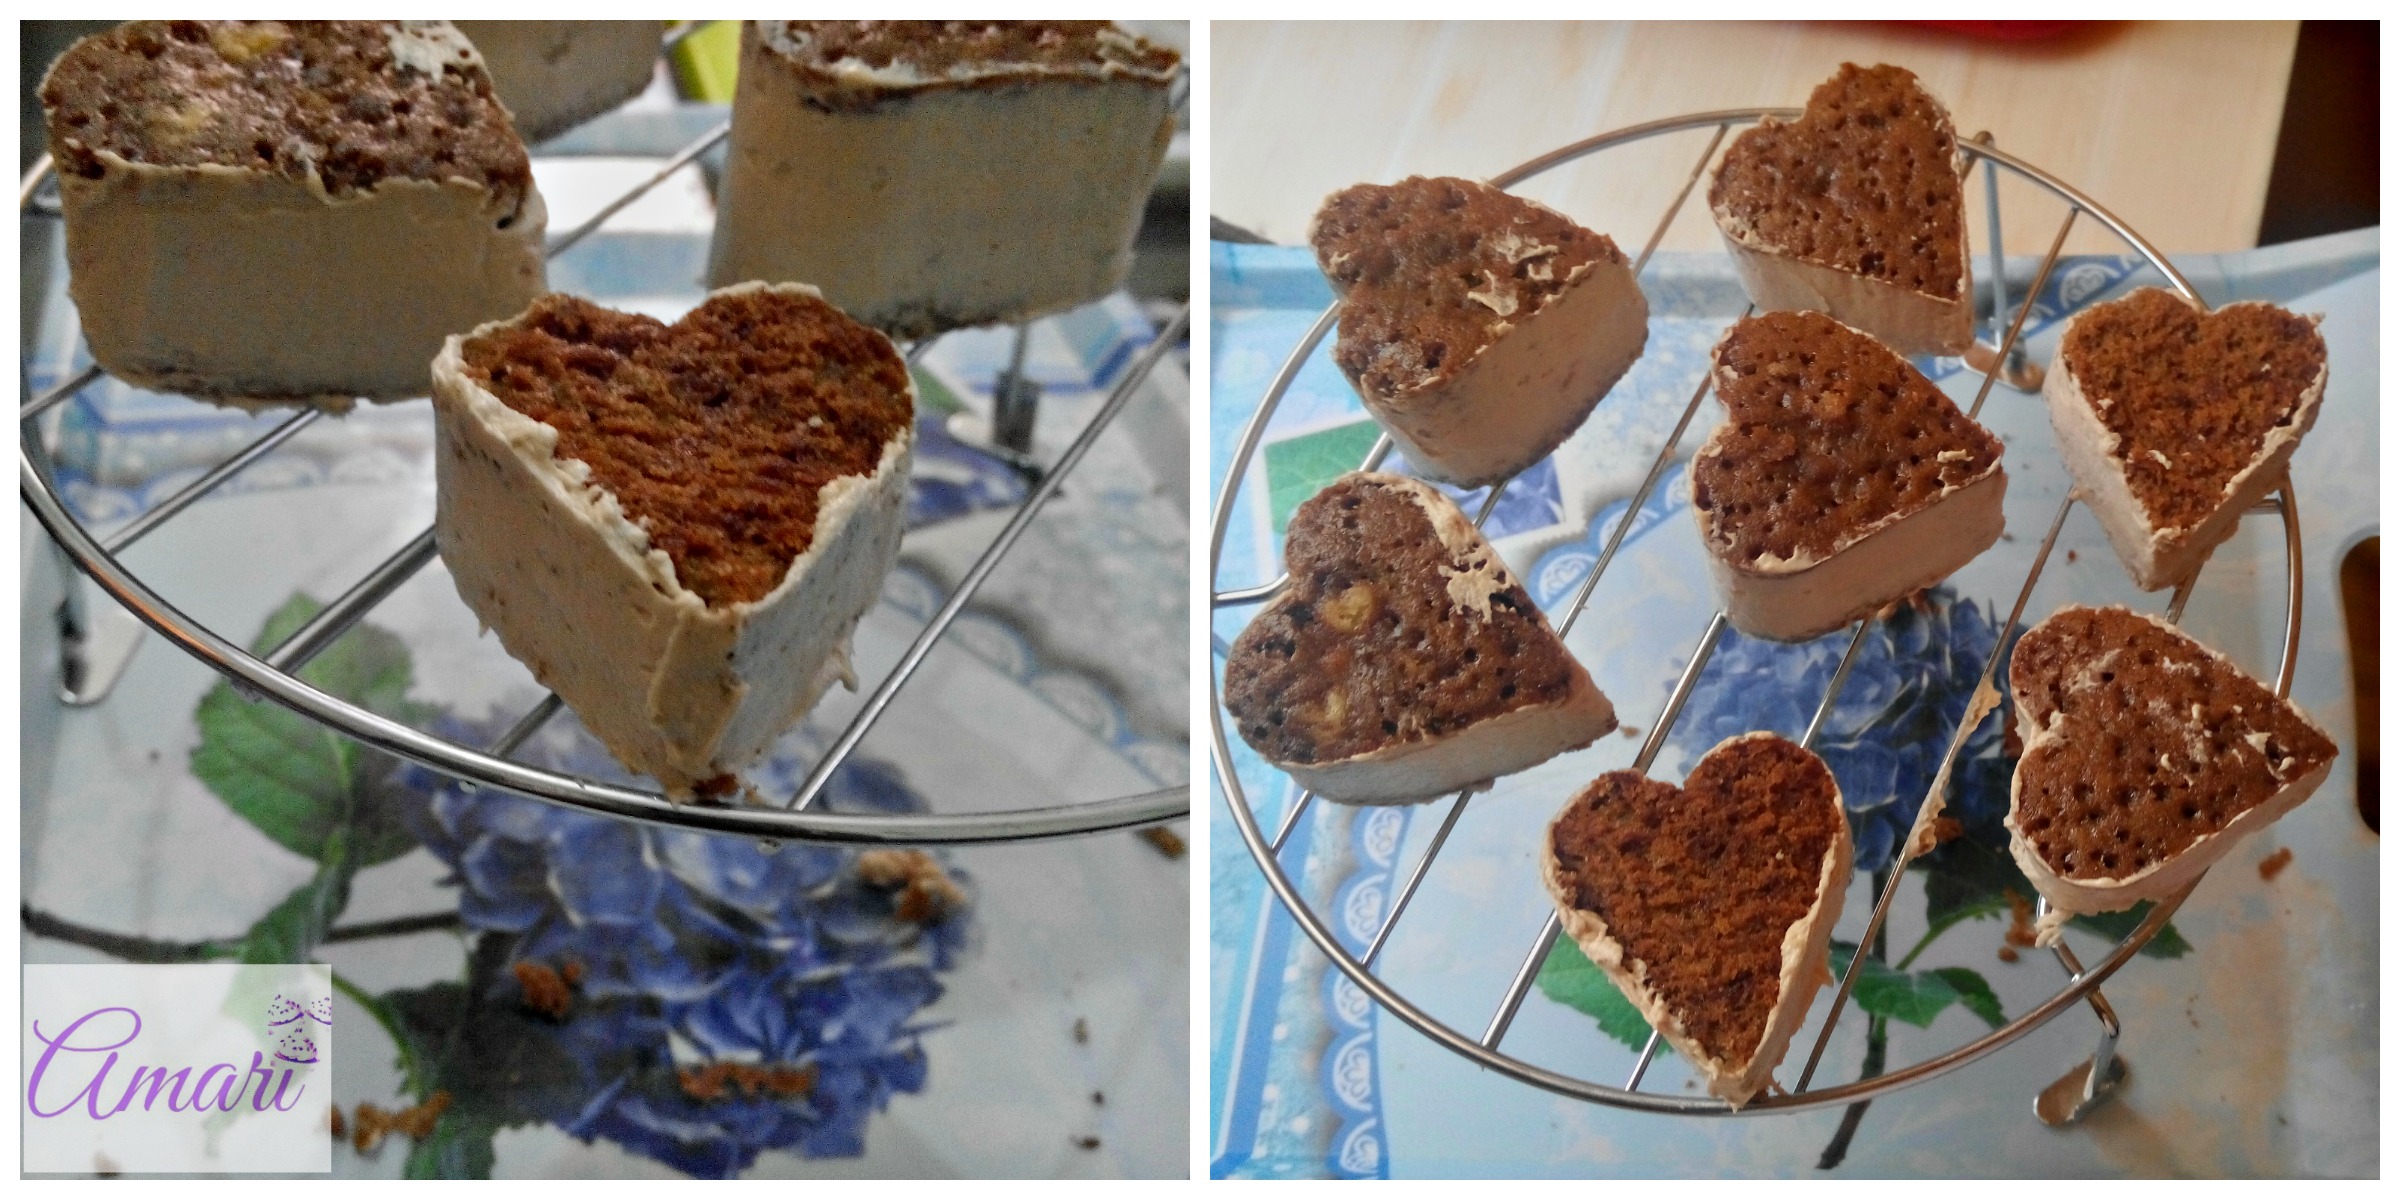
- Pipe the frosting into the center of one cake piece and stack another piece on top of it and press to make sure they hold together. Do this for each pair of cake pieces until they are all used up.

Fill the mini cakes with Buttercream frosting - Using a small icing spatula, frost the sides of the mini chocolate cake pieces as smooth as you can get them. You can also choose to frost the tops if they are not even; however, I didn’t frost the top for mine since most of them were even.
- Once they are all frosted, place them on a cooling rack ready to pour chocolate ganache on them. Place the cooling rack on to a tray since the ganache will drip, you can also place a sheet of foil under the rack as well.

Frost the mini cakes and place them on a cooling rack - At this time, start preparing your chocolate ganache (recipe provided below). When it’s ready, give it a few minutes to cool down a little bit, about 2 to 4 minutes,

Make your chocolate ganache then pour it as evenly as possible onto each mini chocolate cake. Make sure the top and all the sides are covered by the ganache.

Pour the Chocolate ganache on the mini cakes - Leave the mini cakes on the cooling rack to finish dripping and to dry.
- For packing or presentation, you can use regular cupcake liners to place the mini cakes onto. Use a flat spatula to lift the cake from the rack to the liners.
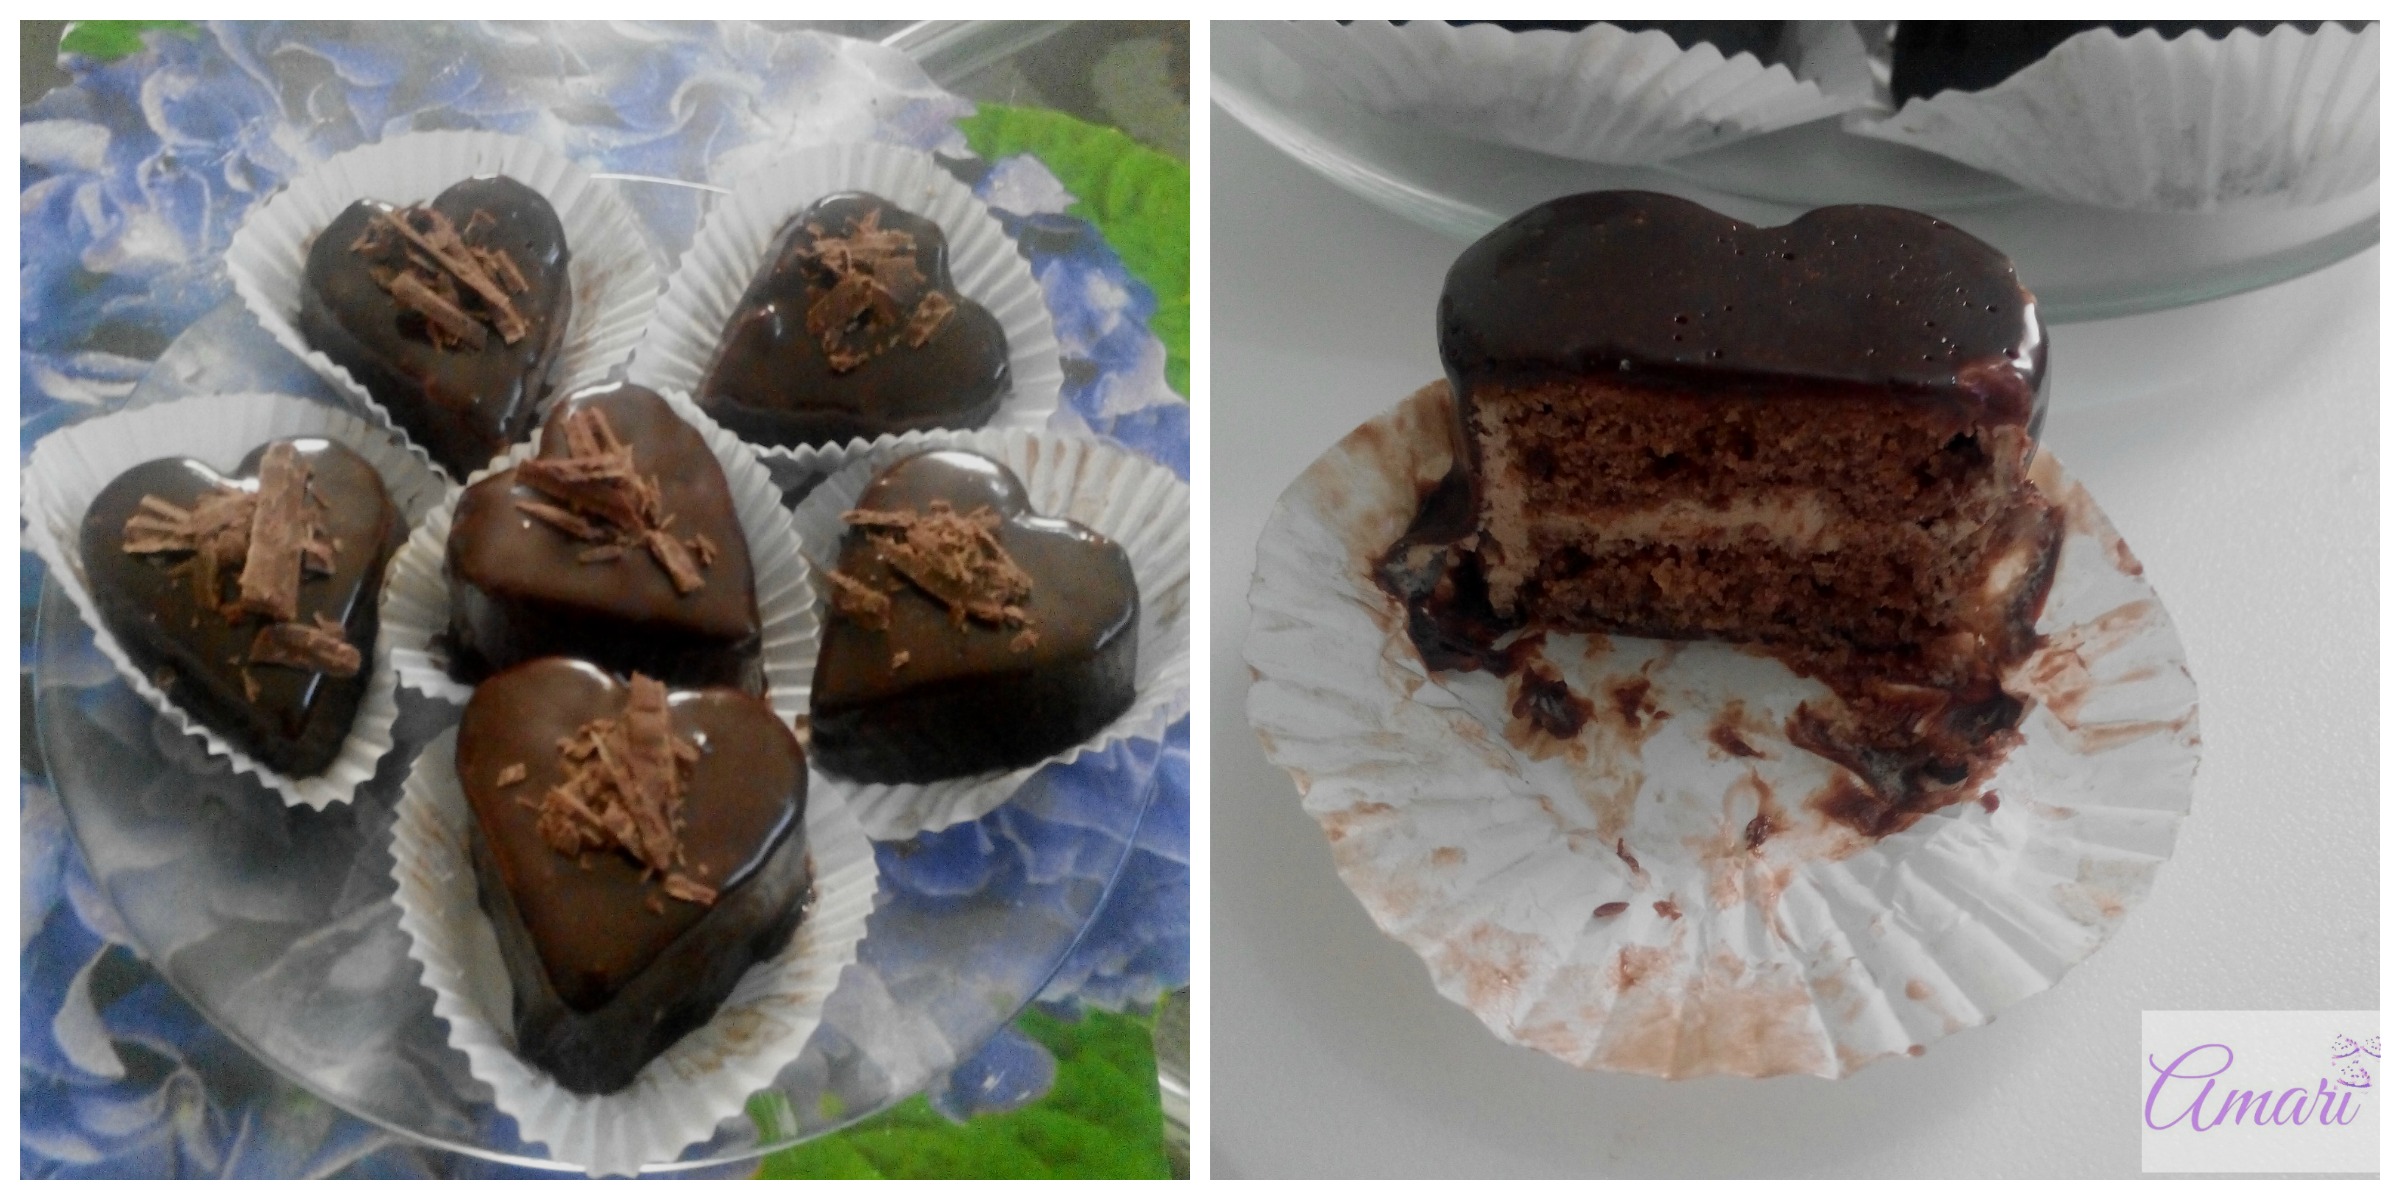
- To garnish, you can choose to grate some chocolate pieces and place them on top of the mini cakes; either white or dark chocolate based on your preference. I used dark chocolate.

You can garnish the cake with some chocolate pieces


Voila! Your Chocolate Mini Cakes are ready to eat. Bon Appetit!
Chocolate Ganache Recipe
Dark chocolate (chopped) – 60 gms, Cream – 60 ml & Butter – 2 teaspoons
Heat your cream in a small pot to a simmer (until you start seeing small bubbles on the side). You can also choose to microwave between 15 to 30 seconds to heat up the cream.
Remove from heat and in a medium bowl; place the chopped dark chocolate in the bowl; then pour the warm cream onto the chocolate.
Let it sit for a few minutes, then start stirring with a spatula until the chocolate is completely melted. To ensure all the chocolate is melted, you can use a double boiler; keep stirring until all the chocolate melts. You can then add the butter and stir until incorporated. Remove from double boiler and use the ganache.
If you would already know how to bake, but would love to learn intermediate baking techniques such as frosting with Chocolate Ganache – please check out our Intermediate Cake making & Decoration Course schedule. Click on this link and book your spot for the next available class to start learning.
Do try out this recipe and share your results below please, feedback is always appreciated.
If you have any baking buddies you know would love this recipe, make sure you share ^_^
